Video Transition
Question Description
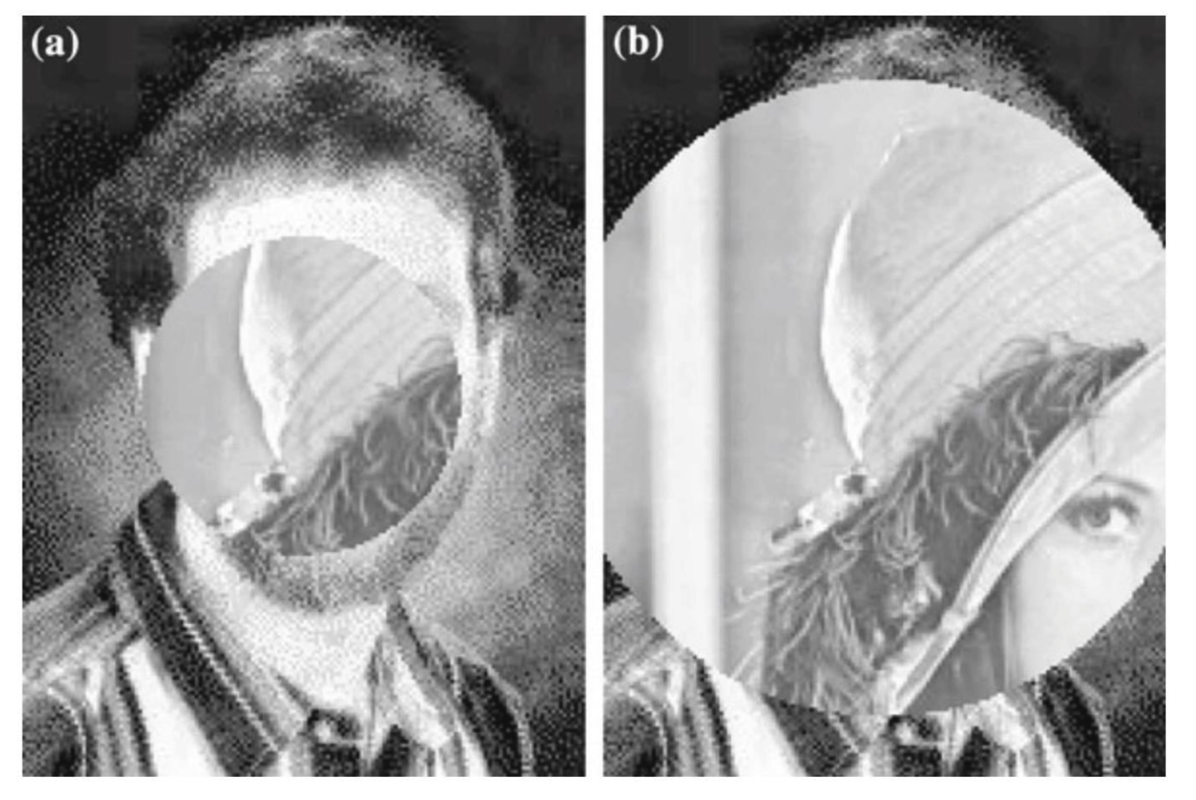
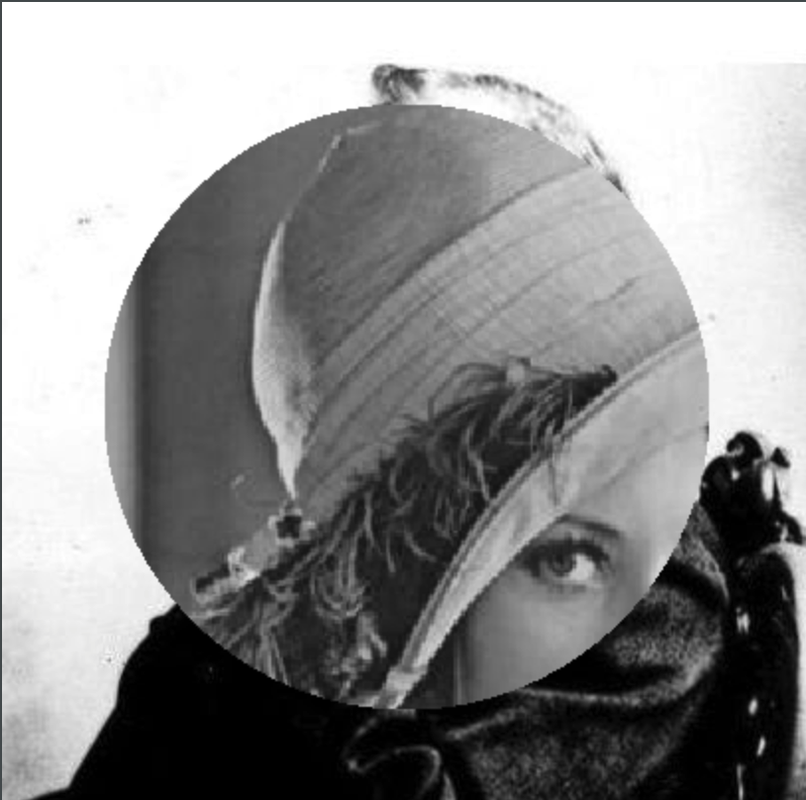
In this experiment, we are supposed to complete a video transition. Specifically, the second video appears to under the first video through an opening circle, like a camera iris opening. Implementation effect acts as the figure below.
Seriously, this is not a PS problem…
Experiment Procedure
In order to achieve the “camera iris” effect, there are three possible methods:
- Circle crop an image and paste it to the second one.
- Try to draw a logo layer on the canvas.
- Change original pixels to mask pixels.
Language and Environment
We facilitate Pycharm IDE to conduct our experiment. Why pyCharm? The most inviting advantage of Pycharm IDE is that it is an integrated IDE for Python. We are able to fluently code in Python with the help of it.
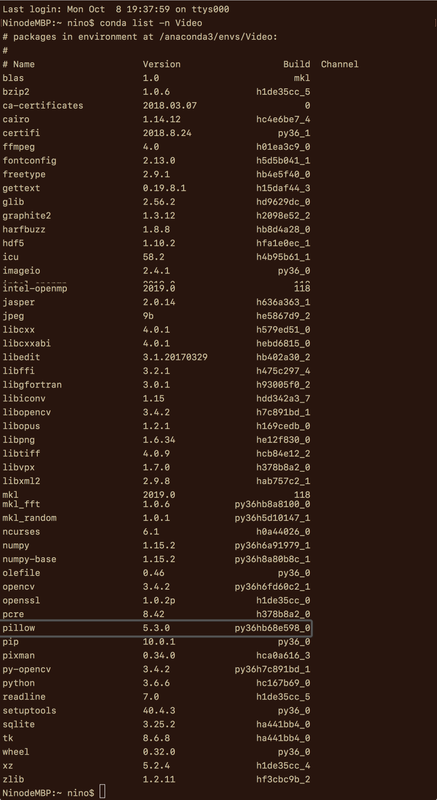
Moreover, combined with anaconda, we can get any package we want. Actually, I first tried to used openCV API to solve this question, but it’s turn out to be a dead end. Anaconda – Easily install 1,400+ data science packages for Python/R and manage your packages, dependencies, and environments—all with the single click of a button. Free and open source.
Here’s my Anaconda environment. As you can see, many packages are listed in my env named “Video”.
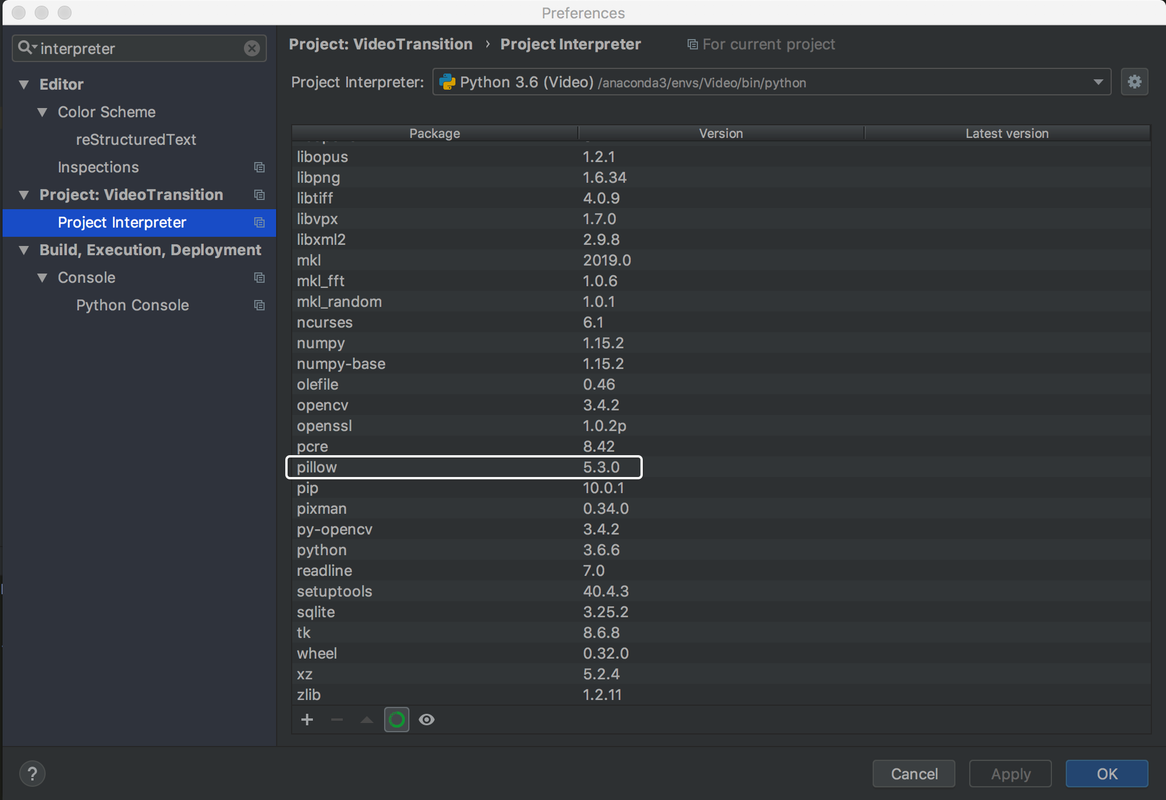
And the correspondences in Pycharm IDE.
I/O Implementation
Considering that we could acquire each frame, the video imagine, and we are given the videos in *.jpg format, we prefer to deal with the imagines rather than the true videos for simplicity. It isn’t huge work to apply this code to videos, if really necessary.
As for output, the pictures are saved using *.png formatted. Because we can open *.png image without difficulties in Pycharm IDE.
Input images were interpreted as numpy arrays. Each image is a [Height, Width, [R, G, B]] matrix or simply as [Height, Width, Grayscale].
img1 = Image.open("pics/lena.jpg").convert("L")
npImage1 = np.array(img1)
img2 = Image.open("pics/nobel.jpg").convert("L")
npImage2 = np.array(img2)
height2, width2 = img2.size
centerX = int(width2/2)
centerY = int(height2/2)
radius = int(height2/4);
Algorithm Design
In this experiment, we have tried many state-of-art ways, such as OpenCV. But unfortunately, as far as we are concerned, none of them show great performance in this context.
By trials and errors, we finally selected PIL(Python Imaging Library) as our tool and used naive methods to change pixels’ RGB.
Picture in Picture
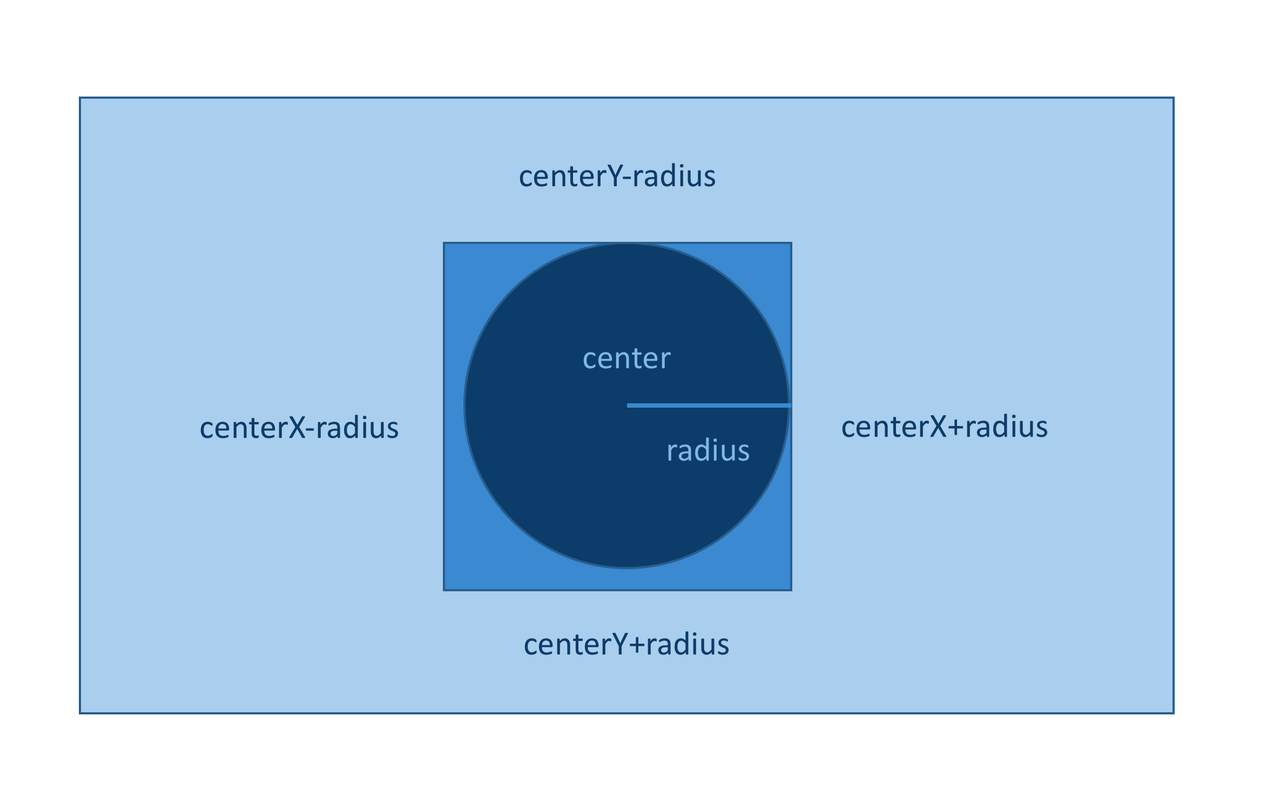
The figure above gives a brief description of the algorithm.
- For layer image, find the rectangle interest region.
- For each pixel in the interest region, compute the distance to the center.
- If the distance is smaller than the radius, then the pixel change its pixel value to the corresponding mask image.
Core code is listed as following:
for y in range(centerY-radius, centerY+radius):
    for x in range(centerX-radius, centerX+radius):
        if np.power((x-centerX),2)+np.power((y-centerY),2) < np.power(radius,2):
            npImage2[y][x] = npImage1[y][x]
Image.fromarray(npImage2).save('pics/circleinsertion.png')
Picture Extension
We found the insertion’s size was not the same as the original one when observed in detail. As a result, we need to conduct an imagine extension.
Considering the easiest method with some pixel loss, we used the following formula to illustrate the pixel change:
newSize/originalSize = newX/originalX
According to this formula, we finally got the extension of the mask image. The extension is 4/3 larger than the original.
img3 = Image.new("L", img1.size)
npImage3 = np.array(img3)
height3, width3 = img3.size
for y in range(0, height3-1):
    for x in range(0, width3-1):
            npImage3[y][x] = npImage1[int(3*y/4), int(3*x/4)]
Image.fromarray(npImage3).save('pics/larger.png')
Extension Insertion
This step is crystal clear when finishing steps above. It’s not very laborious!
npImage2 = np.array(img2)
radius = int(3*radius/2)
for y in range(centerY-radius, centerY+radius):
    for x in range(centerX-radius, centerX+radius):
        if np.power((x-centerX),2)+np.power((y-centerY),2) < np.power(radius,2):
            npImage2[y][x] = npImage3[y][x]
Image.fromarray(npImage2).save('pics/circleExinsertion.png')
Difficulties
OpenCV Defects
When referring to the image process, openCV is always recommended as the first choice. However, we think it’s unable to fit into this context.
Although cv is useful in image and video process, meanwhile, cv almost contains many sophisticated and advanced API, it’s astonishing that, to our best knowledge, it doesn’t include a simple circular image crop function!!! Cv can only crop images in a rectangle size or more complexed way (courier crop). Neither can it drop a circular image on a canvas.
Some classical Q&As in Stack Overflow actually explore this question. But we are not able to find any useful information as far, leaving this method abandon.
That’s why we negate the first plan:
Because I could never successfully crop images in a circle, so any efforts to paste were useless.
PIL ImageDraw Defects
Actually, when I try to google using keyword “python”, “circle”, “crop”, some methods turn out to be good.
Following code is a sample:
import numpy as np
from PIL import Image, ImageDraw

// Open the input image as numpy array, convert to RGB
img1 = Image.open("pics/lena.jpg").convert("RGB")
npImage1 = np.array(img1)
height1, width1 = img1.size
img2 = Image.open("pics/nobel.jpg").convert("RGB")
npImage2 = np.array(img2)
height2, width2 = img2.size

// Create same size alpha layer with circle
alpha1 = Image.new('L', img1.size, 0)
draw1 = ImageDraw.Draw(alpha1)
draw1.pieslice([height1/4, width1/4, 3*height1/4, 3*width1/4], 0, 360, fill = 255)
alpha2 = Image.new('L', img2.size, 0)
draw2 = ImageDraw.Draw(alpha2)
draw2.pieslice([0, 0, height2, width2], 0, 360, fill = 255)

// Convert alpha Image to numpy array
npAlpha1 = np.array(alpha1)
npAlpha2 = np.array(alpha2)

// Add alpha layer to RGB
npImage1 = np.dstack((npImage1, npAlpha1))
npImage2 = np.dstack((npImage2, npAlpha2))

// Save with alpha
Image.fromarray(npImage1).save('pics/croppedLena.png')
Image.fromarray(npImage2).save('pics/croppedNobel.png')
The image was covered by a circle, alluding the dawn of the success, seemingly. No bad, right?
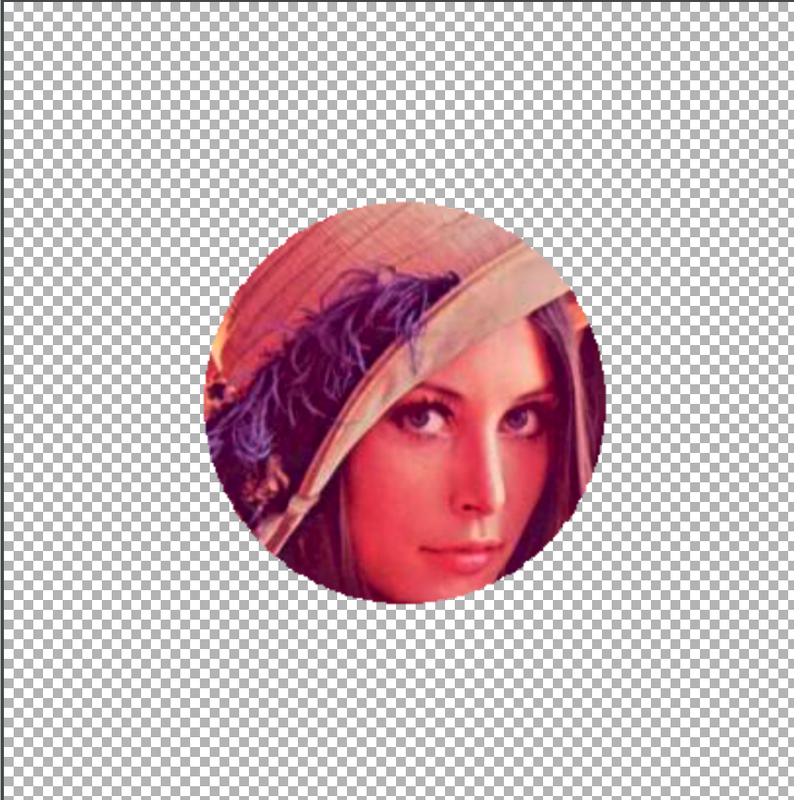
But frustratingly, there exist some difficulties when trying to paste mask. In fact, the layer part is not transparent but some interesting RGB scales, so you can not simply paste it to the layer.
That’s why we negate the second plan:
Because I could not paste an ImageDraw to another image.
Implementation
View code on my repo.
Successful Results
- Picture in picture:
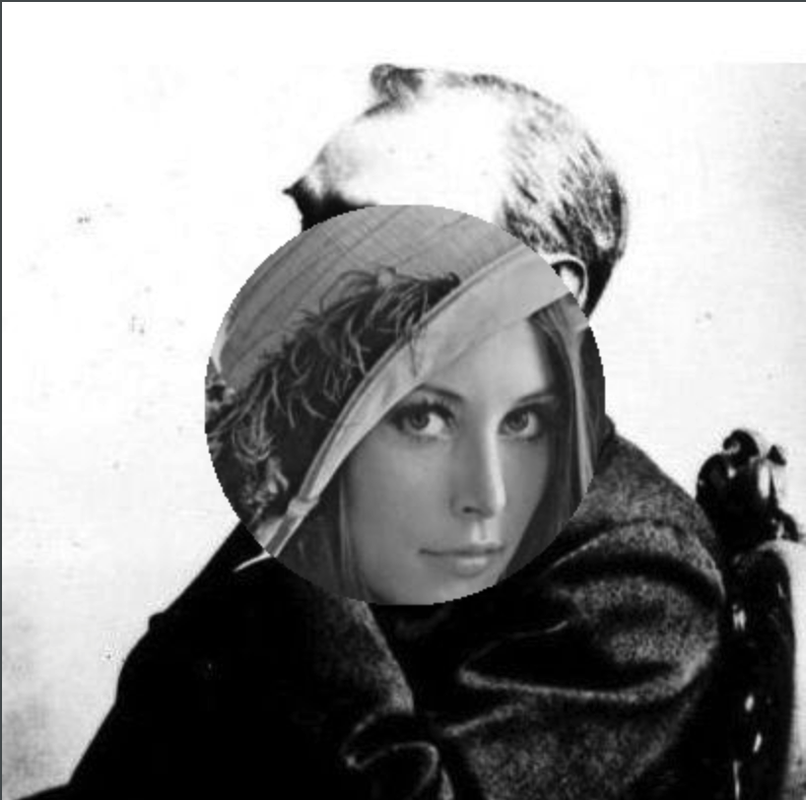
- Extended picture:
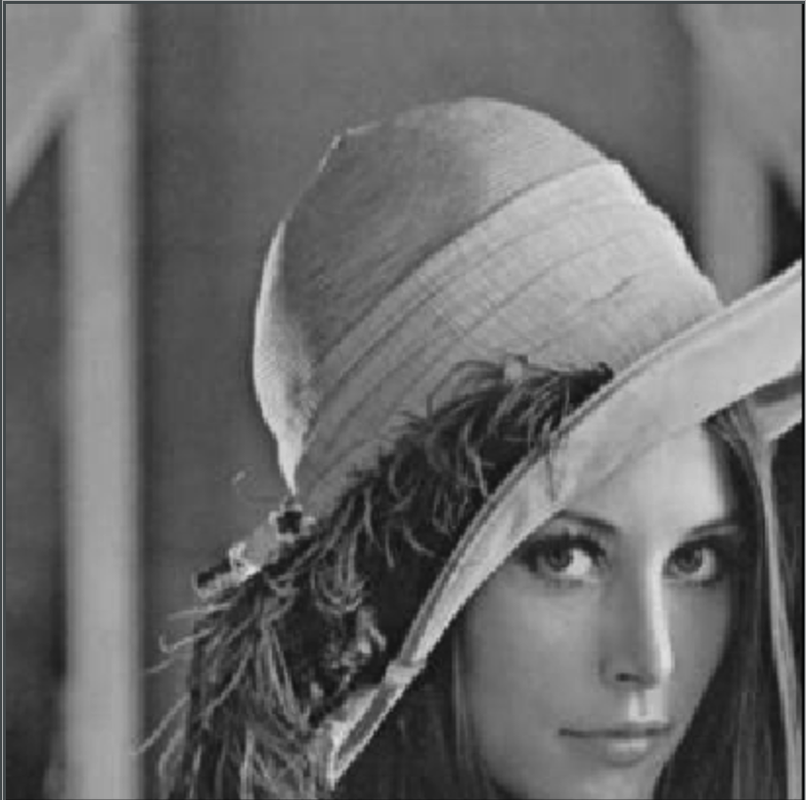
- Extension insertion:
These pictures indicate the success of the camera iris experiment!
LUT Problem
Question Description
For the Color LUT(Lookup Table) problem, try out the median cut algorithm on a sample image.
Background Knowledge
Color quantization reduces the number of colors used in an image; this is important for displaying images on devices that support a limited number of colors and for efficiently compressing certain kinds of images. Most bitmap editors and many operating systems have built-in support for color quantization. Popular modern color quantization algorithms include the nearest color algorithm (for fixed palettes), the median cut algorithm, and an algorithm based on OcTrees.
A great video on Youtube helps me a lot when starting Mid-cut.
Experiment Procedure
There is two possible way to make images fuzzy:
- Use OcTree technique.
- Cut color scales into pieces.
Language and Environment
We also used Pycharm IDE as our tool and Anaconda video-env in the VideoTransion problem as our environment.
Algorithm Design
This part contains screen-shot of video on Youtube.
We can convert an image to a numpy array. The image can be represented by points in RGB 3-D space. So we can geographically spill the points into many groups and put the points into buckets.

Each bucket has a fixed RGB. The image will become less clear for pixels’ RGB are less more accurate.
Fuzzy Procedure
It’s intuitive to use np.floor() methods to approximate the float digits generated by the pixel division.
The core code:
// Fuzzy Image
for x in range(0, int(width-1)):
  for y in range(0, int(height-1)):
    npImage1[y][x] = np.floor(npImage1[y][x] / np.power(2,n)) * np.power(2,n)
Moreover, we try to illustrate how the image becoming fuzzier:
// Fuzzier Image
for n in range(2, 8):
    // fuzzy process
    Image.fromarray(npImage1).show()
Difficulties
Complex OcTree
Actually, I used OcTree at first. Gradually, after searching for some codes on Github repo, I considered its a painstaking job. Why not just split pixels’ RGB scales?
Fantastic as OcTree is, I think setting RGB intervals seems to be a better way.
Implementation
See my code here.
Successful Result
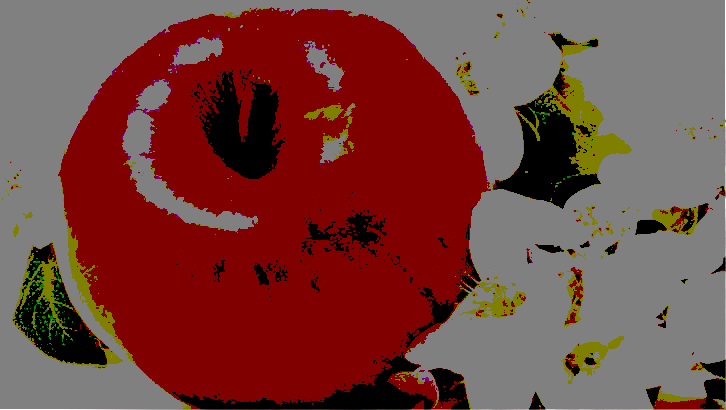
- Vague Apple:
- Fuzzier Procedure GIF: